Images and Complex Visuals
Images range from simple visuals—like photos or icons that only need short alternative or alt text—to complex visuals such as maps, charts, and diagrams that require more detail. Alt text provides a brief description so users with assistive technologies understand the image’s purpose.
For complex visuals, long descriptions offer a structured way to explain details that alt text alone can’t capture, ensuring equal access to meaning and context. This resource explains why alt tags and long descriptions matter, when to use them, and practical strategies for writing clear, effective descriptions that make visual content accessible for everyone.
Why is it Important?
Alternative text ensures that students who cannot see or interpret images still understand your content. By describing key elements and relationships, you provide equal access to concepts that visuals convey. This simple step makes learning inclusive and keeps every student engaged.
Quick Links
Creating Alternative Text for Images
Learn how to check images and graphics in your course materials, making sure they are designed for all students and users of your course content.
What Is Alt Text?
Alternative text (i.e., alt text) is the text equivalent of the image. It’s particularly important for presentations and documents in an online course or website viewed with a screen reader. Alt text describes the image to the user.
- Alt text is not the file name; it should describe the image and its relevance to content around it.
- If your image is complex (for example, a chart or diagram) and requires a lengthy description, add this description in the accompanying text within the same document or link to a separate document that contains the full text description. This practice is essential for students who use a screen reader and it will be helpful to other students too.
- How you use alt text in describing an image will depend on the context and how you define its purpose.
The Alternative Text section of the Getting Started with Accessibility guide has more information on how to create alt text for different types of images.
PowerPoint
Open a PowerPoint presentation that has images in it. You can add in alt text for images two different ways.
Select Picture Format. Then select Alt Text.

Microsoft PowerPoint will open a screen to add 1–2 sentences for alt text on the right side of the screen. If the image is simply decorative, define or describe it as such.
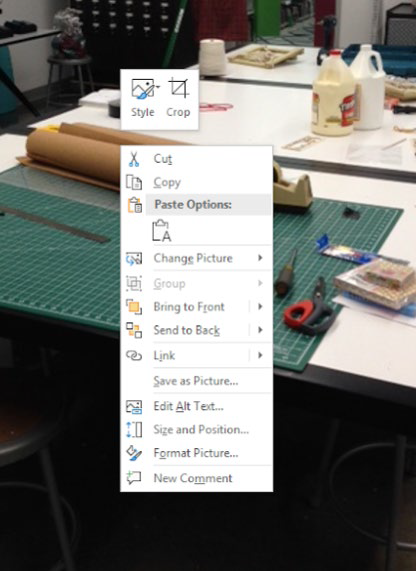
Right click on the image.
Click on Edit Alt Text.
The same screen will pop up on the right side of screen.
Good news! Adding alt text for other MS Office products (Word, Excel, etc.) is done exactly as it’s done in PowerPoint.
Google Slides
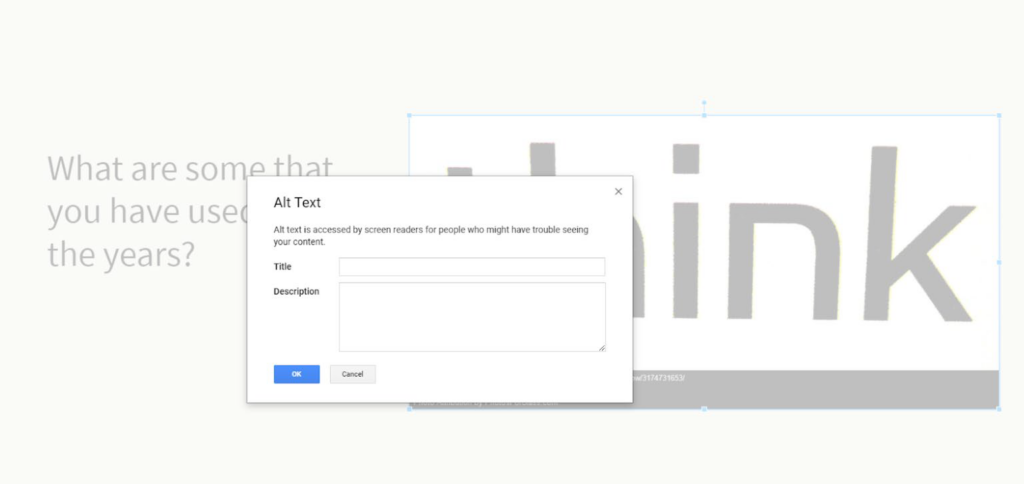
Right click on the image. Options will pop up.
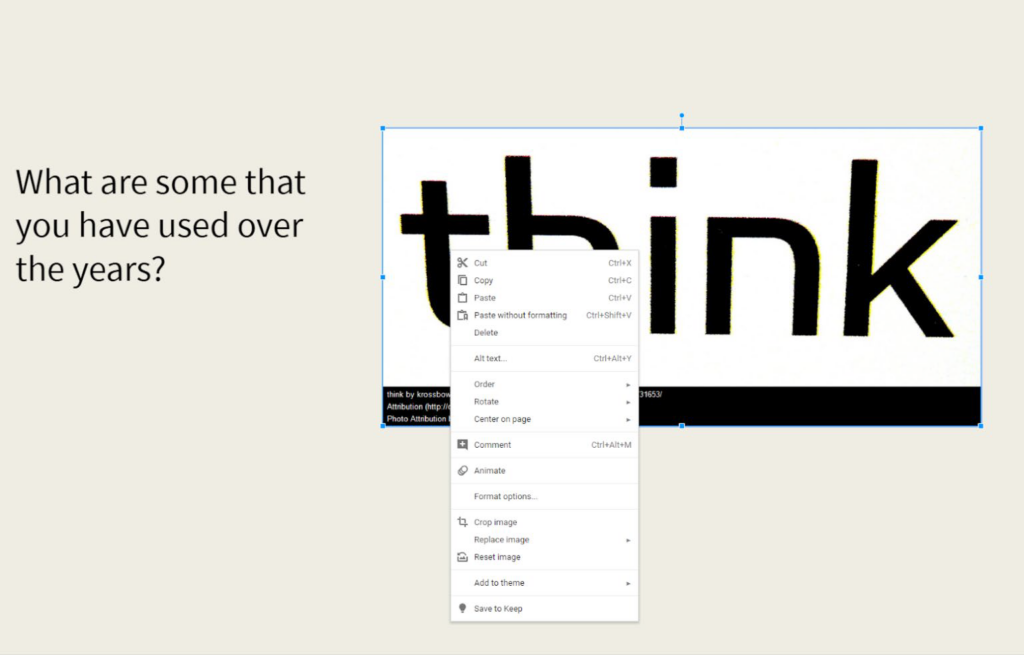
Click on Alt Text. A window will open. Type in 1–2 sentences describing the image.
More good news! Adding alt text for other Google products (Docs, Sheets, etc.) is done exactly as it’s done in Google Slides.
WordPress
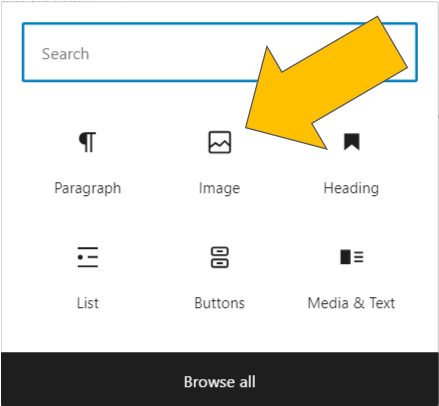
Select Add Block and click the Image option. If no Image option appears, simply type “image” into the search bar.
You can upload an image from your computer, add one from your site’s media library, or add one using an external URL.
Select your image. A block formatting menu will appear on the right side of the page.
Enter your description in the Alternative Text field (located in the Settings section of your block formatting menu).
What if You Have a Complex Visual?
When your alt text cannot capture the full significance of the visual in 150 characters or less, you will have to provide a long description. A long description is a detailed text explanation of a complex visual, such as a chart, map, or diagram. It provides information that short alt text cannot capture, including relationships, trends, or context within the visual. Long descriptions ensure users with assistive technologies have equal access to the full meaning of visual content.
Write Your Long Description
When your alt text cannot capture the full significance of the visual, you will have to provide a long description. Whether you write them manually or use tools, the goal for long description is clarity, accuracy, and completeness so every learner can understand the concept without seeing the image.
Add Your Long Description
Once you’ve created a long description for your image, make it accessible by adding it to your course, website, or materials using one of the following methods. Be sure to provide a short alt text (e.g., See Long Description for Figure 2.1: Map of North Carolina below) and link or reference where the full description can be found.
HTML Disclosure Widget Example
Whether you use the <details> HTML element to create a disclosure widget in WordPress or Canvas, they will look the same. Have a look at the following example. Click the title to show/hide the description.
Long Description examples
Check out the following examples of long descriptions. For additional examples explore the National Center for Accessible Media webpage Effective Practices for Description of Science Content within Digital Talking Books.

Flowchart Long Description: This flowchart illustrates the prototyping process. It begins with brainstorming, followed by research, new product development, and trend analysis. The prototyping phase is highlighted in a pink diamond, and the design phase includes implementation and testing. Each section is color-coded—blue, orange, purple, and yellow—to distinguish steps.
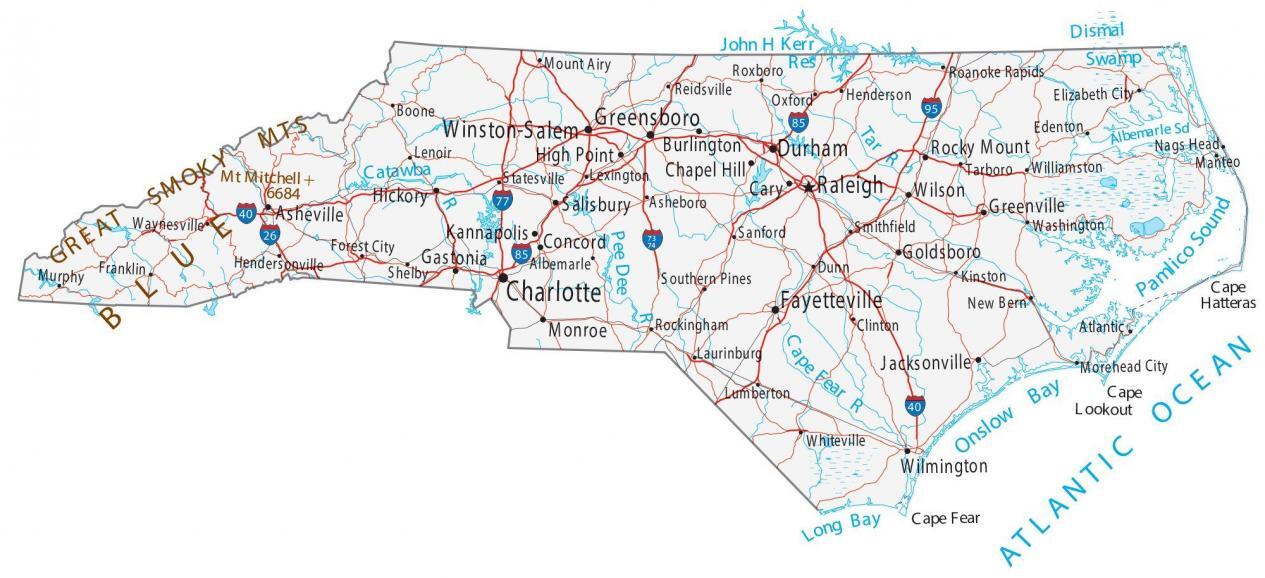
NC Map Long Description. This map shows North Carolina with major cities, highways, rivers, and lakes. Key cities such as Charlotte, Raleigh, Greensboro, Durham, and Asheville are labeled. Interstate highways including I-40, I-85, and I-95 are marked in bold lines. The map also highlights state boundaries with Virginia, Tennessee, Georgia, and South Carolina, and the Atlantic Ocean along the eastern edge.
Additional Resources
- Accessibility: Alt Text and Long Description (Penn State)
- Accessible Images (WebAIM)
- Alternative Text (WebAIM)
- How to Write Long Descriptions (MSU Denver)
- UDOIT (UNCG)
- Section 508: Alternative Text (Section508.gov)
Last Updated: December 11, 2025